Thursday, January 12, 2017

Folk Art Landscape

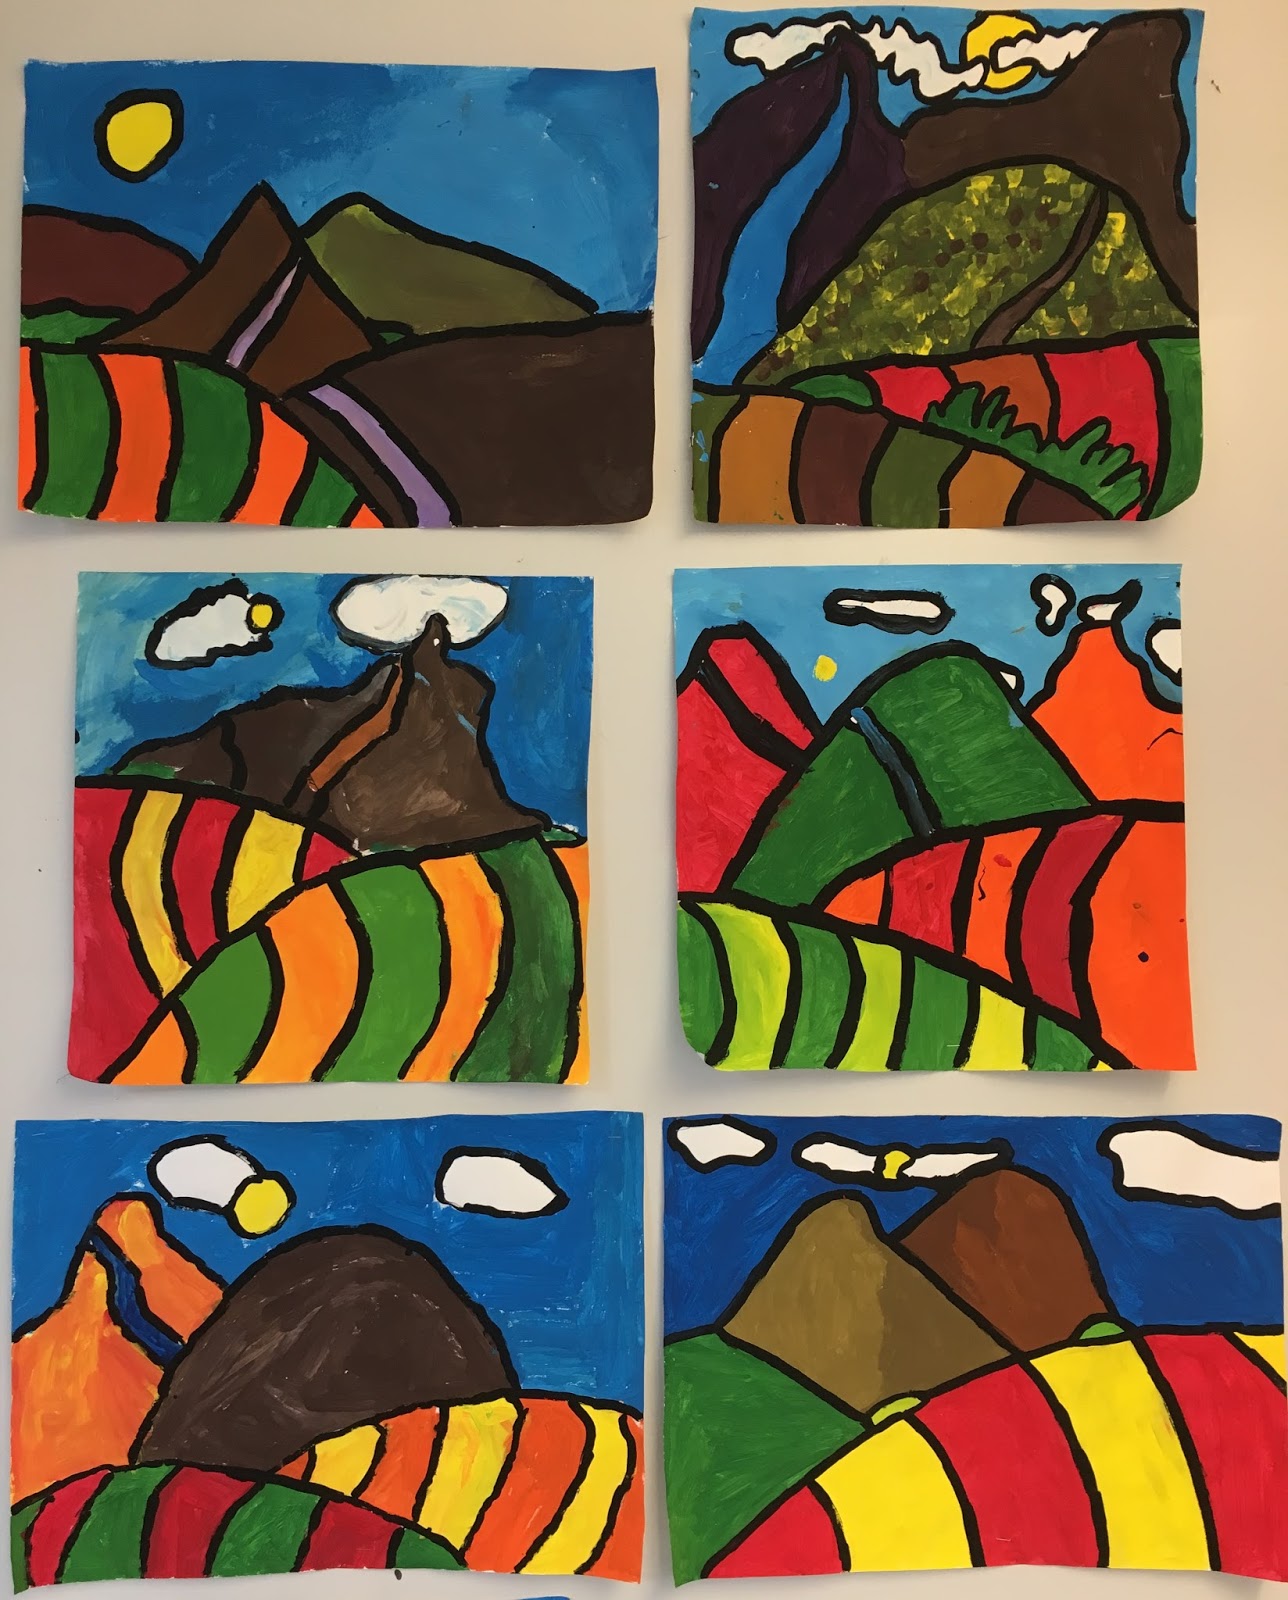
4th grade students have been working intensely on a Folk Art project.  Students were challenged to design a landscape focusing on foreground, middle ground & background with a windy road to capture the viewers attention through the picture.  Students committed to drawing in Sharpie, thus encouraging students to map out their ideas before drawing.  Once pictures were complete, students then used water color pencils to add color.


Friday, January 6, 2017

Owls in the Night


Add caption
2nd grade students embarked on a twilight themed picture based on this fall's super moon and illustrations from the book, Twinkle, Twinkle, Little Star by, Jane Cabrera.  Students began by making a painterly background using long brush strokes of blues, purples and white for the sky.  It was encouraged to let the mixing of the paint happen on the paper rather than their pallets to achieve and expressive brush stoke that resembles wind or movement in the sky.   Next, students focused on making owl feathers using the same brush stroke techniques.  We wanted to make the brush strokes resemble individual feathers instead of one solid color.

On day two, students began their collage making.  They manipulated brown paper by crumpling to create texture for the bark of their tree branches.  Then, students drew gigantic letter "U"s onto the feather print paper to make the body for their owls.  After cutting the "U" out, any scrapes of paper was then used for wings.  They then traces concentric circles for the owls' eyes and jazzed them up by using oil pastels to make designs.  

 I just love how focused these students are working!


The final touch was adding stars to the night skies.  I can't stand how adorable these owls are!!!

Monday, January 2, 2017

Clay Penguins


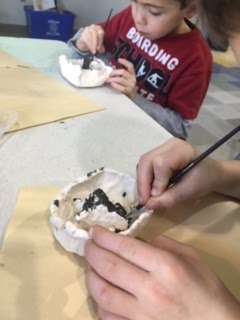
First grade students began a clay exploration by listening to the story Tacky the Penguin by, Helen Lester.  The class then explored sculpture by making penguins and a pool of ice and water by making two different size pinch-pots.  Students learned the technique of rolling a ball of clay into a ball and then sticking their thumb into the center.  By using their thumb and forefingers, students then "pinched" around the shape to open up the clay in to a wide bowl type formation.  This became the base of our sculpture.    The second pinch-pot started off with a ball and thumb print.  However, student then pushed the clay over their thumb to make a taller tower looking pinch-pot which then became the body for their penguin.  Students then learned about the 'Scratch & Attach" technique of how to apply scoring and slip to clay in order to attach a detail such as a wing, tail or even beak.  I'd say this group really got the hang of it!


On day two, students listened to the story Sergio Makes a Splash by, Edel Rodriguez. 
 We discussed penguin attributes and how to paint our penguins with the right color choice: black, white and a touch of yellow.  Students had a great time painting their sculptures and the results are stunning!


Wednesday, December 7, 2016

Pop Art Hamburgers

Remember this jingle? Man, does it stick in your head!  My 3rd grade students are starting a collage project where they will be designing the most mouth watering hamburger that they can imagine. What better way to kick off the lesson that with this!


On day one, students made printed paper for them to later cut and use for the fixings.  It was so much fun brainstorming what they would like to put on their burger. . . From the ordinary, cheese, ketchup, and lettuce to the extremist, guacamole, siracha sauce and even anchovies!


While the printed papers were drying, students practiced their weaving by making a Milton inspired place mat (red and white - Go Wildcats!).  Once this was in place, the group was ready to collage!  Students were given the task to design a mouth watering burger making sure they overlapped each layer ensuring no gaps and deliciousness in every bite.
The final results are quite extraordinary!

Apple Advertisement


Fall is in the air and what better way to celebrate the change of season then by making some apple stampin' art.  Students observed some different colored apples, green, red, and yellow, and noticed how some apples had streaking of multiple colors.  We then cut some apples in half and began stamping away.  

While the paintings were drying, we began to talk about texture and  how we can notice texture both by touch and with sight.  I gave the class some cardboard and we made a textured background for our project by rubbing the cardboard behind the paper.  Next, we took the same cardboard and ripped the to layer of paper off to create a texture of a basket and glued it down to the project to make a still life.


The next week it was time to put all the pieces together.  The apples needed to be cut and then assembled into the basket.  The final touch was stamping the word APPLE on the top to resemble a fruit box advertisement.  Aren't these pictures delicious!


New England Landscapes

Having grown up in New England, nothing is as breathtaking as the leaves turning.  This year, the colors are particularly vibrant and make for such beautiful landscapes.  The Vermont artist, Sabra Fields, has captured this changing of the seasons in her works of art.
Light Suite by, Sabra Fields

Day one began with 5th grade students observing Field's art works.   We discussed her use of color, line and perspective.  We then began our landscapes by drawing four land forms and perspective embellishments.
Land form #1

Land for #2

Land form #3

Land form #4

Perspective details: Curved lines for the field, a road traveling off in the distance and some shrubs
On day two, we took out the paint!  Students began by painting in the sky followed by the clusters of green trees or shrubs.

From there, we had a conversation about fall colors and color mixing.  I gave students red, yellow, brown and green to use as they filled in their landscapes.  I asked that they keep each land form one color, but how they painted in their land forms, was their choice.  The results are spectacular!

Wednesday, November 9, 2016

Chicka Chicka Boom Boom


The kindergarten students in Mrs. Brandi's class made these awesome Chicka Chicka Boom Boom pictures.  After I read aloud the book by Bill MartinJr. and John Archambault, the class identified key elements to the illustrations: an orange background, a coconut tree and lots of letters.  From there, we got right to work and began color mixing.  We talked about primary colors and how mixing yellow with red will result in orange.  We put this to the test and used great BIG brush strokes to cover the background of their artwork.

On day two, we had a gluing lesson and began to stick down all the parts of our coconut tree.  We began with the bright purple boarder around the paper which really framed the composition.  Then we  practiced our cutting skills but cutting a brown rectangle into two equal parts to stretch the coconut tree up the paper.  Then we made zig-zag lines along green paper to make the design of the palm leaves.  We also added the coconuts and sun to the picture,  Last, we stamped our letters going up the coconut tree.  What fun!