Thursday, October 12, 2017

Three Primary Colors


Kindergarten students began the year with an introduction to the primary colors.  We watched the above video to gain some background knowledge with this very catchy tune!  We then set off to use the primary colors by painting in sections of their paper yellow, red, and blue.
   
 In this lesson we focused on how to use a paintbrush properly, and how to clean our brushes before switching colors.
 
The next week, we talked about lines and patterns.  Students used a white oil pastel to add line details to their artwork.  This was then followed by some stamping exploration using various size circles from yogurt cups to marker caps.  Students made circle designs across their paper trying to make their mark in each of the primary color sections.
 
Bravo to a job well done!


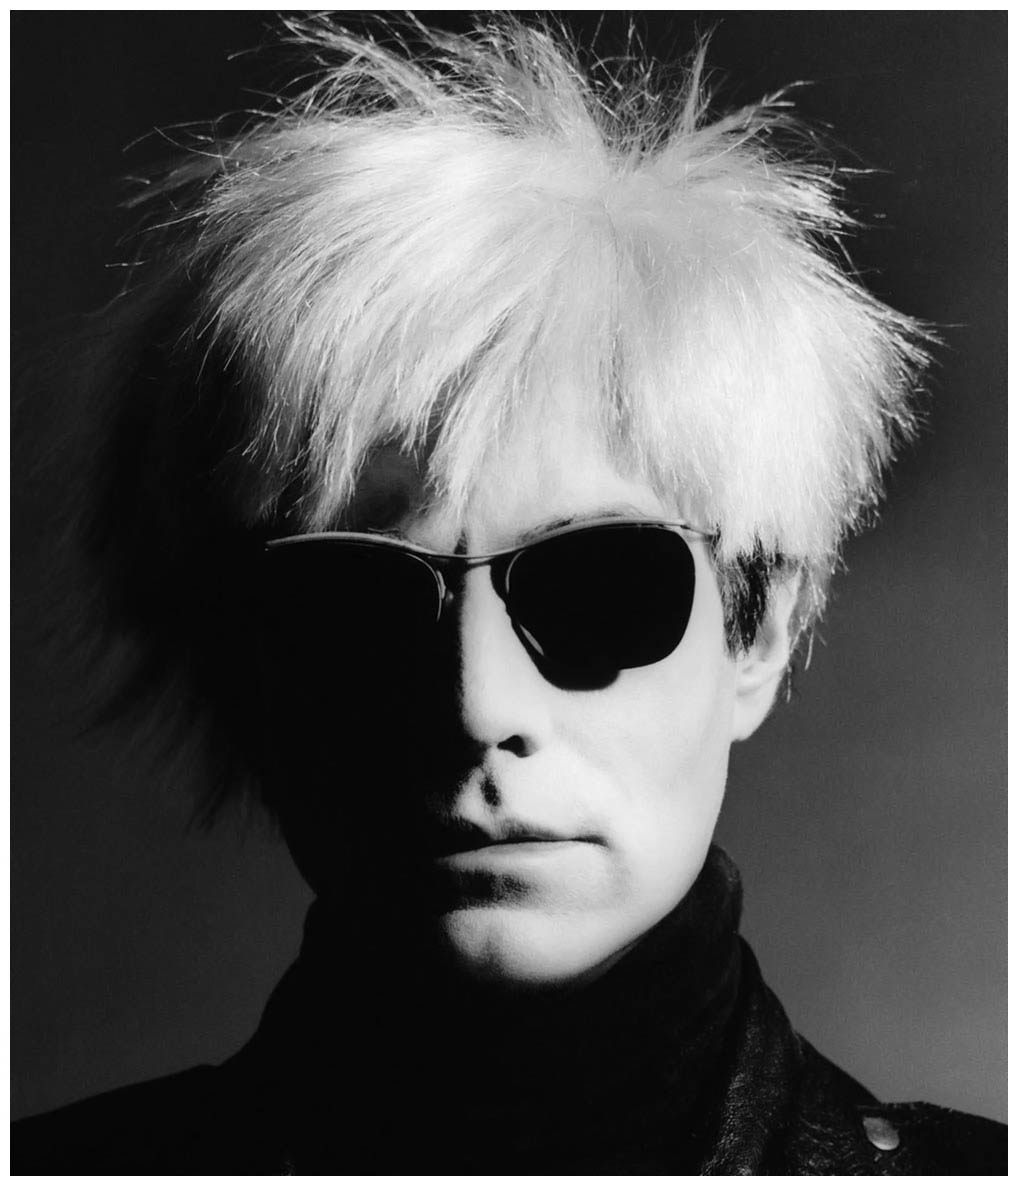
Andy Warhol Inspired Hand-prints


First grade students began the year with art work inspired by Pop Artist, Andy Warhol.  We talked about turning the ordinary into extraordinary art with the help of repetition and bold colors. Student then folded a 10x10 piece of paper into fourths to get 4 equal squares to use.  Students then traced their hand-print four times trying to rotate their hand in a new direction in each box.  Then came the fun... we stamped their hand-prints on top!  The next week, students then practiced their painting skills by painting in the inside of their hand-prints with four different colors.  Then students moved onto painting the backgrounds making sure they switch colors to make the print "pop"!


The final results definitely, "POP!!"

Jasper Johns Alphabet

Jasper Johns
Colored Alphabet, 1959
Oil and Collage on panel

Third grade students used the above painting, Colored Alphabet by, Jasper Johns to draw inspiration for their own artwork.   Students initially saw this painting as an "easy project" because they already knew how to write their letters.  However, once students got started, they began to appreciate how complicated and difficult it is to fit all the letters of the alphabet in their paper and use the right size letters which aren't too big or too small.  We brainstormed tools that we could use to help with the drafting process and decided a ruler would help to section off their paper.  We placed 5 horizontal lines across the paper and did some math to decide how many letters should be placed on each row.

Once the students had their alphabet laid out in pencil, they began work on making a patchwork of color for the background layer.  Students used tempera cakes for this process and were allowed the freedom to color their paper in any pattern they desired.
   
Painting the letters in different colors.  Students were directed to use red tempera paint for 5 letters of their choice in their alphabet before switch colors to blue, green, yellow, then white.
     

The next class, students used oil pastels to make expressive lines and textures to jazz up their artwork and camouflage the alphabet into the canvas. 

   
LOVE, LOVE, LOVE how this class rocked Jasper John's!!!
   

Clipper Ships, Ahoy!


In conjunction with Columbus Day, 5th grader students embarked on a nautical journey working on bringing a clipper ship to life.  I drew inspiration from the fabulous blogger Deep Space Sparkle for this project.  Students began their technical drawing using nothing more than pencil, ruler and eraser.  We paid close attention to the details of a clipper ship and observed each vessel has to have these essentials: a hull,  masts (3 of them) and sails (at least 9 on each boat).
   
Once the clipper ships were complete, students traced over their boats with black marker and used water colored pencils to add color to their ships.  
   
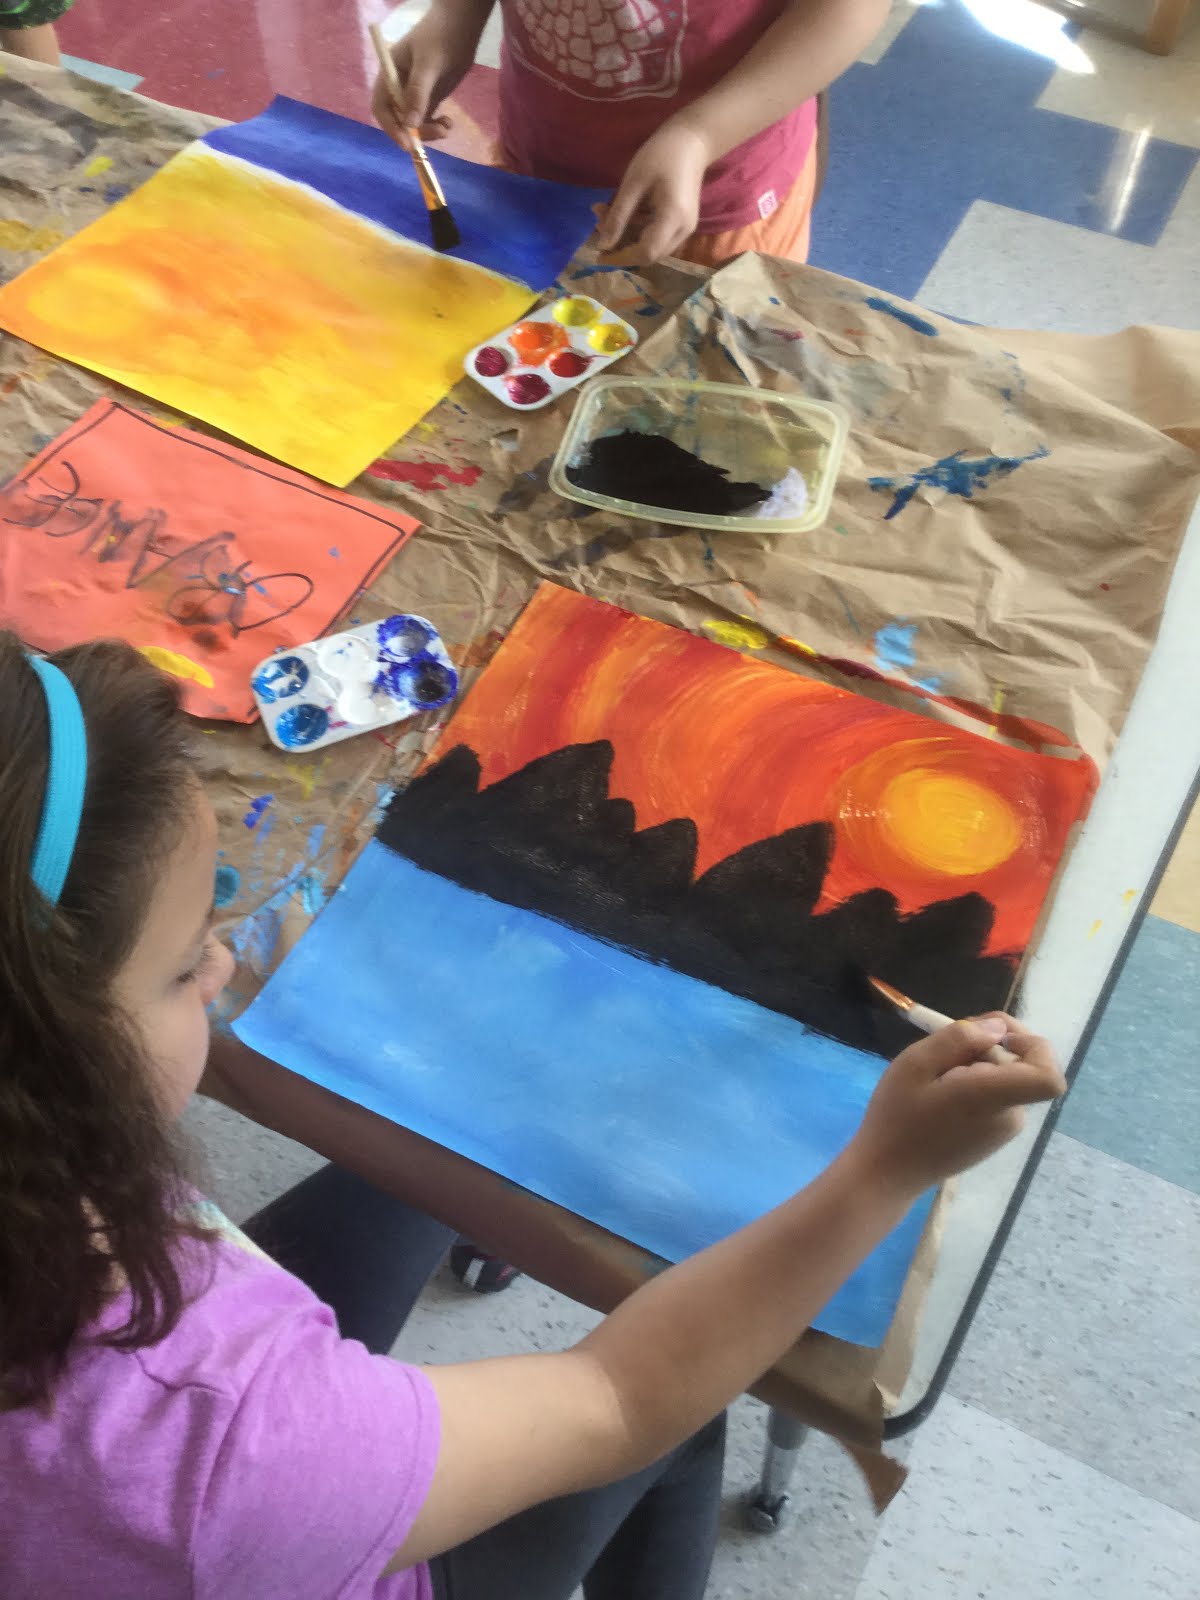
After the ships were complete, students began to work on their seascape.  We used warm colors for the sky and cool colors for the water. Then we added land on the horizon by diluting black paint and making an organic line across the paper.  


Finally, it's time to put all the pieces together!  I encouraged students to partially glue their clipper ships onto the background thus giving the appearance of wind actually catching its sails.  Some finishing touched included, fluffy clouds and cresting waves. 
I must say the final pictures are quite impressive!

Thursday, September 28, 2017

Egyptian Art


Disclaimer: This post was from the 2016-2017 school year.

Vocabulary:
Egyptian
Papyrus
Profile
Hieroglyphics

Making papyrus from ripped up pieces of brown butcher paper and glue.  Oh, so messy but oh, so much fun!


Creating Egyptian profiles of gods, goddesses or pharaohs.  Students began by drawing their Egyptian figure then tracing in Sharpie.  Students were then given watercolor paints to work with and add color.

Adventures in Clay

Disclaimer: These adorable clay critters are from the 2016-2017 school year.  

Pinch pot fish - 4th grade

Owl wall hangings - 2nd grade


Ugly Dolls

Disclaimer: This project was from the 2016-2017 school year

Third graders have taken on the adventure in sewing!  More pictures to come as the project gets on its way.